A Step-by-Step Guide to Hanging Peel-and-Stick Wallpaper on Painted Walls
Hanging peel-and-stick wallpaper is a great option for transforming your painted walls in an afternoon. Whether you want to add a touch of personality or completely revamp a room, this step-by-step guide will walk you through the process of installing peel-and-stick wallpaper. Plus I’m going to share three crucial things to avoid to ensure a flawless and professional-looking result.
Step 1: Gather Your Materials
Before you begin, make sure you have all of the materials you’ll need handy:
- Your choice of peel-and-stick wallpaper. For my recent project I choose to use Wallblush, but some other notable mentions that offer quality peel-and-stick wallpaper are Tempaper, Spoonflower, & Chasing Paper .
- Utility knife & squeegee/smoothing tool
- Level
- Step ladder (if needed)
- Pencil or marker
Step 2: Prepare the Painted Walls
Start by ensuring any holes in the walls are patched and sanded to a smooth finish. If you’re applying on painted drywall, a little spackle and a 220-grit sanding sponge or paper should be all you need here. Any additional cracks, bumps, or wall texture should be considered as well. Some peel-and-stick wallpaper brands will stick to uneven and/or textured surfaces while others will not or you simply won’t have good adhesion and you’ll most likely see any texture through the paper. Be sure to follow the manufacturers instructions here and take this into consideration when choosing your wallpaper. Next you’ll need to make sure your painted walls are clean and free of any dust, dirt, or grease. Wipe the surface using a damp lint free cleaning cloth and allow it to dry completely. Those little microfiber towels are great for this because they can be throw in the wash right after and are usually sold in larger multi-packs. A smooth clean surface will ensure better adhesion of the peel-and-stick wallpaper.
Step 3: Measure Twice, Cut Once
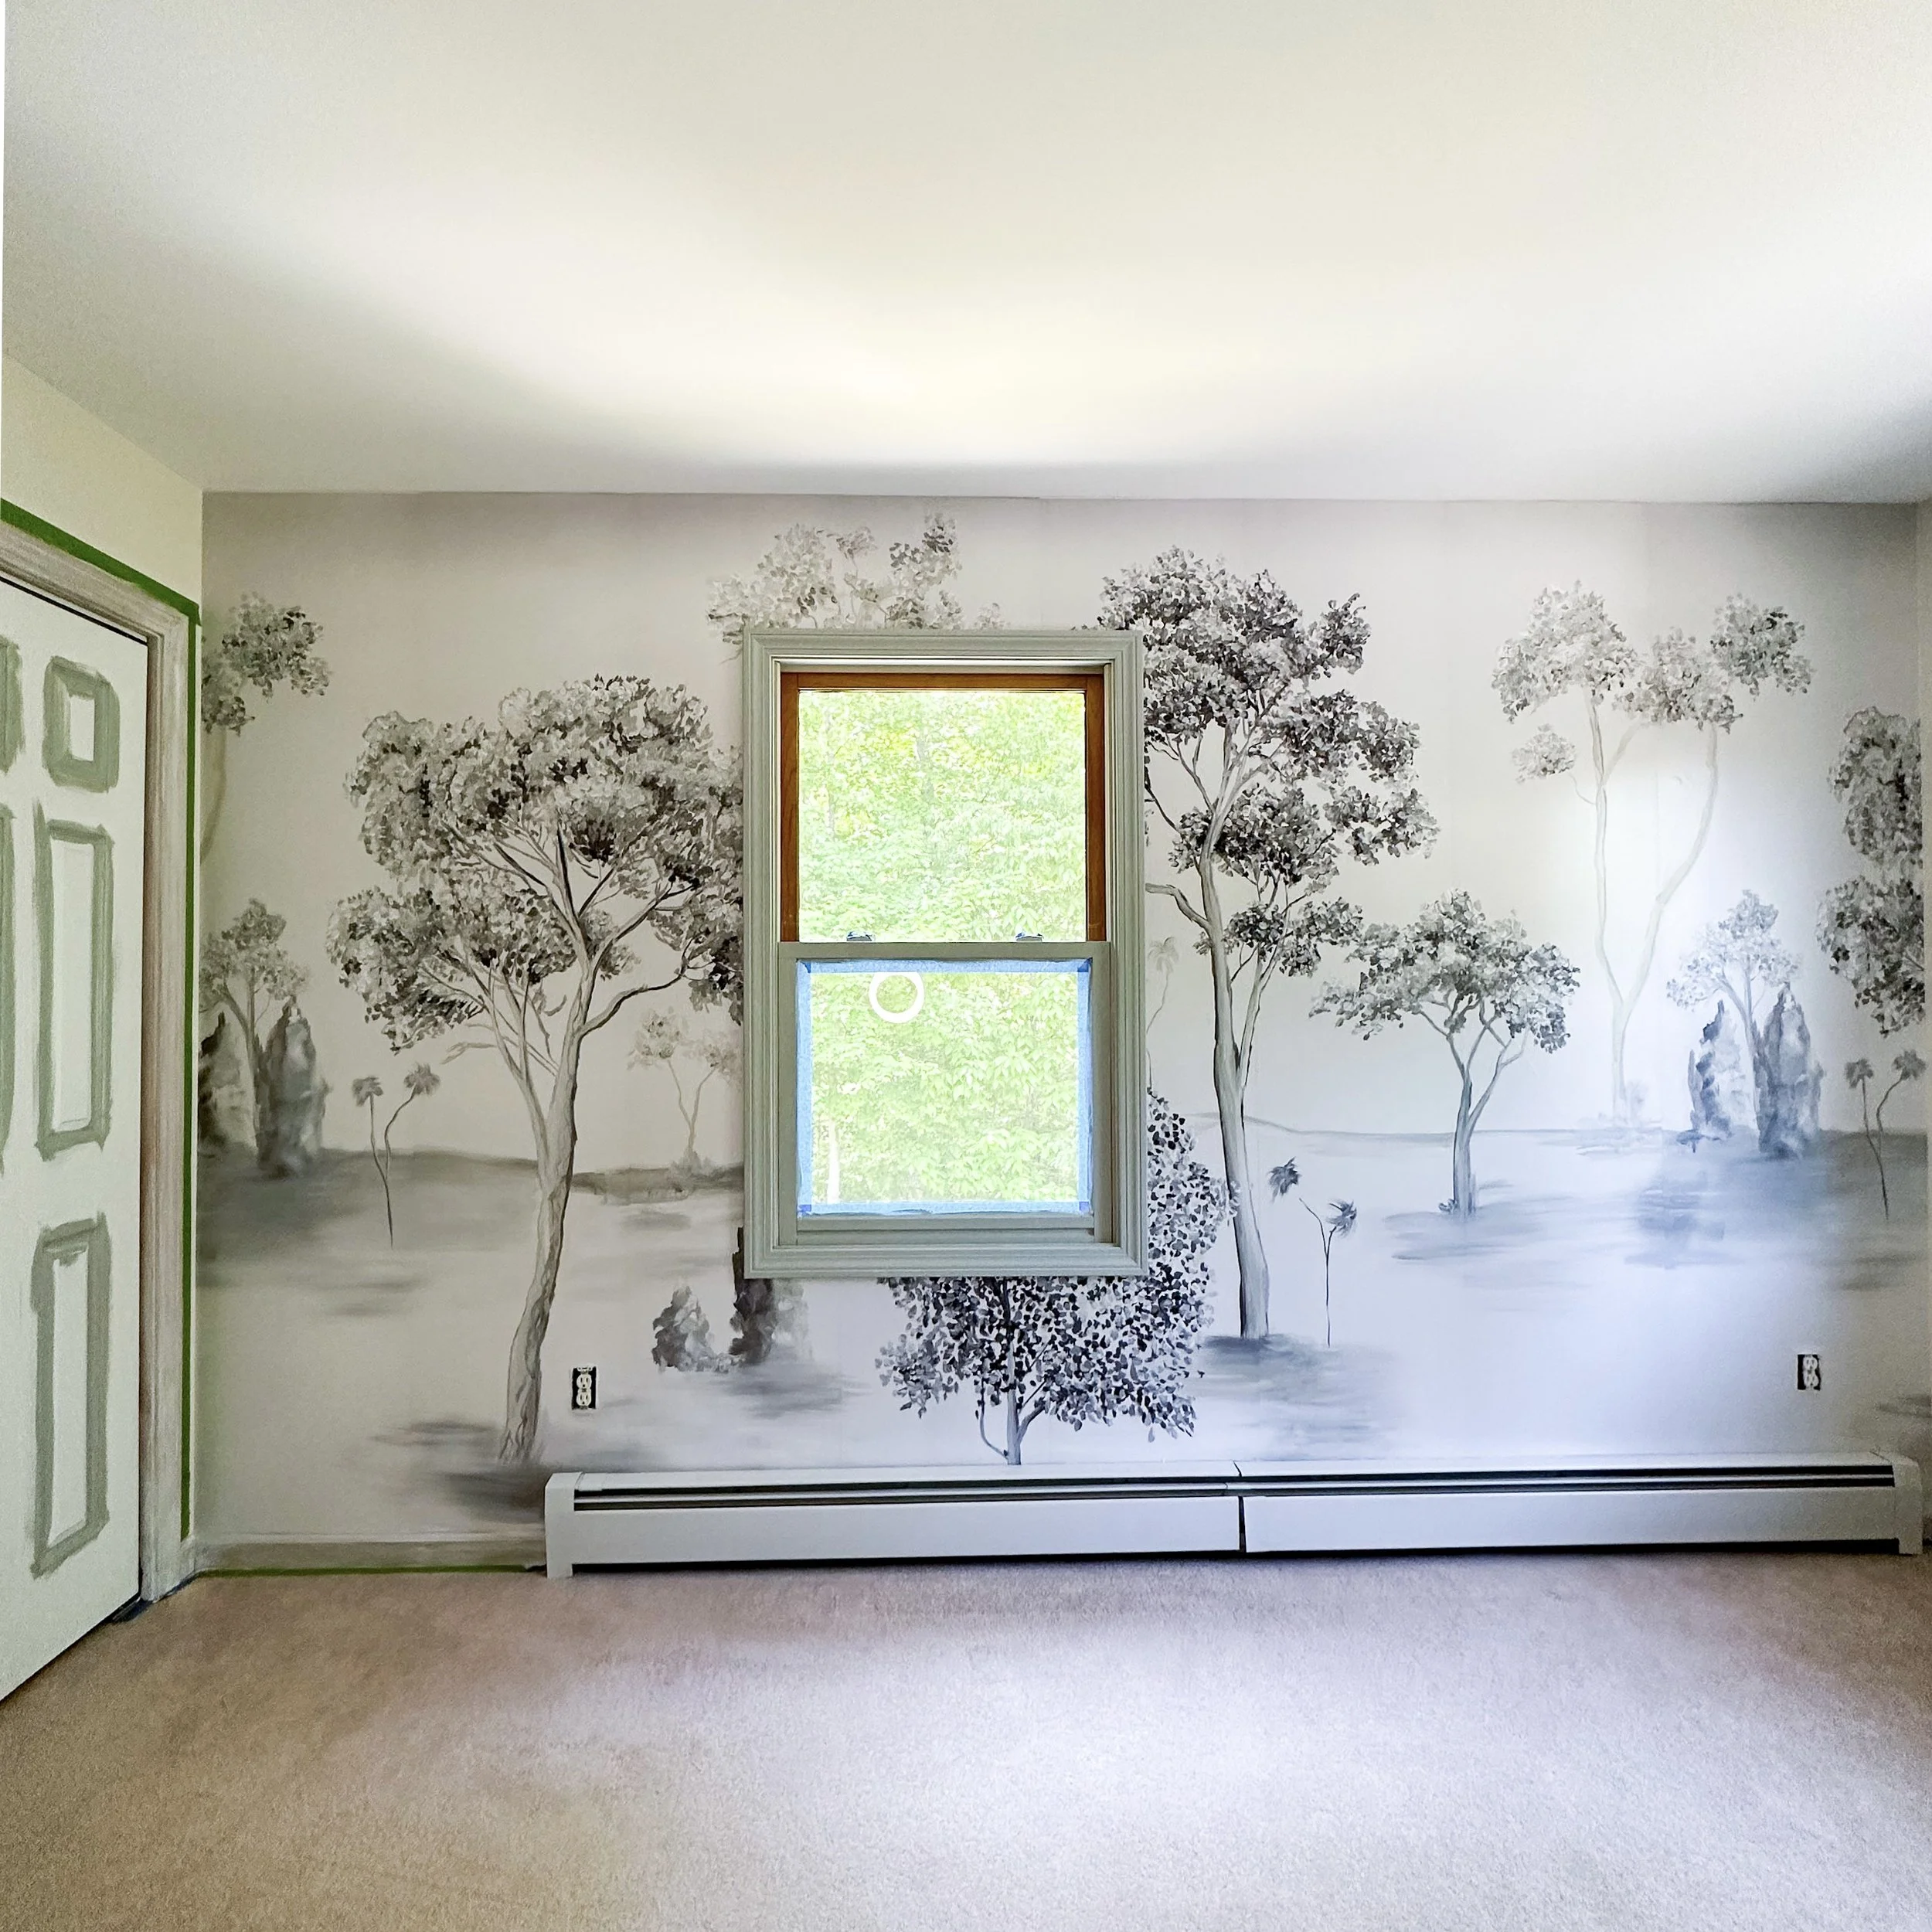
Depending on what type of wallpaper you’ve chosen to go with, it’s likely that you’ve already measured the height and width of your wall as you would’ve needed this prior to purchasing. I would add a few inches to both the height and width of the wall you want to cover to account for trimming and adjustments. Using a pencil, laser level, and a straight edge mark out the measurements for the width and height of each panel on the wall. Depending on the height and width of your peel-and-stick wallpaper panels, your wall will be marked out with a grid pattern or straight columns. Now, I should note that you technically don’t need to mark out the wall as a laser level will keep these guide lines in place but you might find this helpful just in case something moves or you need to stop the project midway and come back to it. I can’t stress this step enough, using a level as a guide will ensure that your pattern lines up perfectly while allowing you to account for any inconsistencies if your walls are not perfectly square (which most are not). When I was hanging up the wallpaper in James’ room recently, I did not use a level and ended up seriously misaligning one of the panels. Making subsequent panels uneven and making it more challenging to line up the pattern. Luckily the wall mural I chose had some forgiving areas of pattern that I was able to use to my advantage to “hide” the misalignment. But this mistake definitely made the project more difficult than it needed to be and take longer than necessary. So learn from my mistakes, measure and use a level! If you’re interested in watching how I was able to fix it, check out my “wallpaper” highlight on my Instagram.
Step 4: Begin Applying the Wallpaper
Now we are finally at the fun part, application. Beginning at the top corner of the wall, peel off a few inches of the backing paper from the top edge of the wallpaper strip. Align the top edge with the corner or ceiling, ensuring it is straight and level using your markings as a guide. Slowly press the exposed portion of the wallpaper onto the wall, smoothing it out as you go. Use a squeegee or smoothing tool to remove any air bubbles or creases, working from the center to the edges, in both directions. Continue to move down the wall slowly removing the backing as you move down the wall and continue to smooth out any air bubbles. Take your time here, don’t remove all of the backing at once. Continue applying the subsequent wallpaper panels working from top to bottom, gradually peel off the backing paper while pressing and smoothing. Take care to align the pattern correctly using your guidelines or level periodically to ensure the wallpaper is straight and aligned. I found the wallpaper I used to be pretty forgiving, if I moved too quickly or had a lot of air bubbles in one section, I was able to go back and unpeel the wallpaper, shift it, and easily re-stick and smooth. I didn’t find that this had an negative effects on overall adhesion nor did it create any creases in the wallpaper.
Step 5: Trim Excess Wallpaper
Once all of your strips are applied, use a utility knife and a straight edge to trim any excess wallpaper along the ceiling, baseboards, or corners. Make sure your blade is nice and sharp, a dull knife will leave you with jagged edges a s could ruin all of your hard work. Take your time for clean and precise cuts.
Step 7: Repeat the Process
One wall down, three to go! Continue the process by applying subsequent strips of peel-and-stick wallpaper on the remaining walls in your room, aligning the patterns and edges as you go. Ensure the seams match, using the level or your drawn guidelines to check the straightness of each strip.
Step 8: Finishing Touches
Once all the wallpaper strips are in place, inspect the entire wall for any remaining air bubbles or imperfections. Gently smooth out any bubbles or wrinkles using your smoothing tool and trim any excess you didn’t get to in the application process. If needed, remember you can carefully lift and reposition the wallpaper to achieve a seamless finish. Now step back and enjoy the beautiful results you’ve created!
I hope this step-by-step guide was helpful, and provided enough detail so that you can confidently install peel-and-stick wallpaper on your painted walls. Remember to prepare the walls properly, take accurate measurements, and follow the alignment and trimming techniques described. By following these steps, you'll achieve a successful professional looking installation and transform your painted walls into stunning focal point in your home.
Remember you can check out my recent wallpaper install experience on Instagram. Feel free to leave any questions you have in the comments, happy to help.
Happy install!